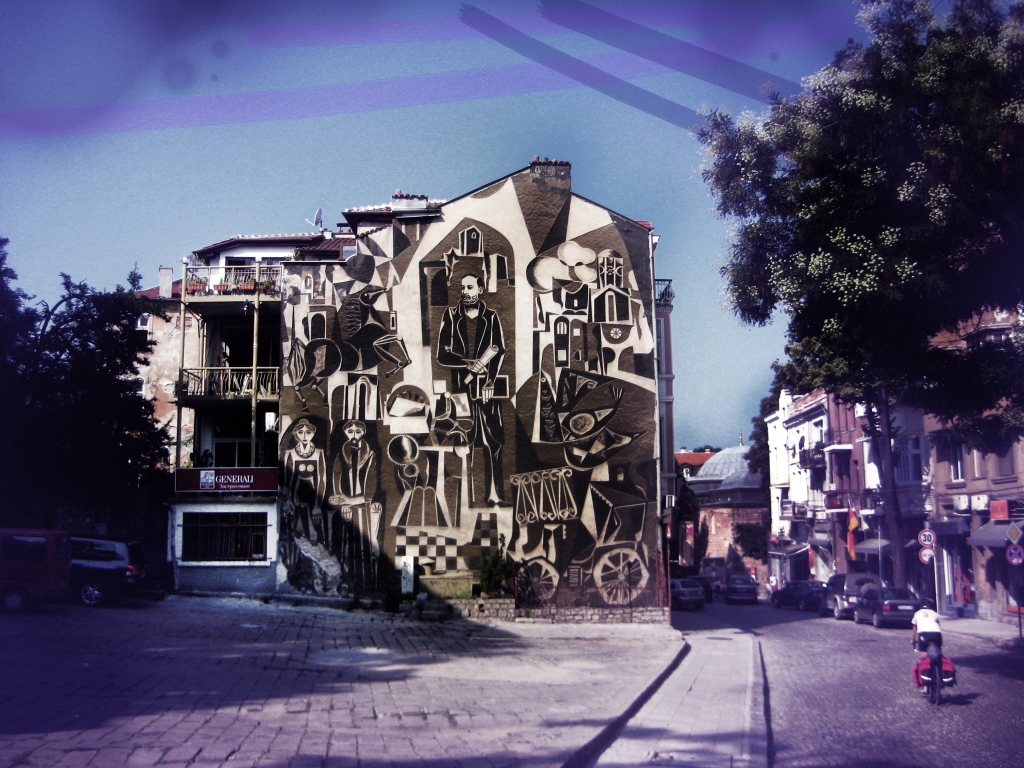
Plovdiv, Bulgaria. While the city is filled to the brim with Roman, Ottoman and many other historical people’s traces, I found this piece of art exceptional. As modernist as it is, it fits in perfect harmony with it’s ancient surroundings. Plovdiv is such a hodge podge city as I found many of the larger Eastern European cities. Weird clubs shoved in between mosques shoved in between a mall and an odd out door/in door restaurant. This was one of those few moments of perfect symmetry.
Part Deux – A Very Biased Opinion on What to Bring on a Long Haul Bike Trip
So GPS, is a nyet for me. So what should you bring on a long haul bike trip that I think is vital for survival and sanity? Alright, here it is, I can do this…Two more things to add to your bike list
With all of the following stuff…make sure that at least the bike repair stuff is new. The paniers, the bike, etc etc can be hand me downs, but if you are even thinking about replacing a shotty tube with it’s equally as shotty brother, you are going to hulk smash something or someone sooner rather than later.
1. A Bike Pump – This is one of those things, along with a Patch Kit that you most definitely cannot skimp on. A friend of mine learned that the hard way. Pop goes my wheel and my friend offers me her handy dandy, generic, completely made of plastic pump. The purpose of a pump for this cyclist, in layman’s terms, is to fill my tube (inside you wheel) full of air and make my bike happy to ride again. Well, for with this little blue devil, being a helping hand was not in the cards. POP! Part of the bike pump is launched into a German cornfield, almost making it’s way directly into the noggin of an unsuspecting cow (or maybe it did suspect something, I think it’s just in their demeanour to always look lost). Make sure you know what your tube’s valve (the metal part you attach the pump to) type is. There are a few types, which I shall explain later in Numero 2.
A patch kit is also a very important thing to have with you. While there are many ways to jerry up a substitute (with pieces of rubber, glue…twist ties…I’ve heard many interesting inventive choices) nothing beats the actual thing. It’s the choice between tobogganing in the snow or tobogganing down your stairs. The end result with a real patch is lasting results and no surprise ending. Also patch kits come with everything you need, including the sandpaper and the adhesive, so you don’t have to play Inspector Gadget. Both a pump and patch kit can be bought at pretty much any bike shop or Canadian Tire.
By the way. This is not a bike pump, this is a pumped bike:
2. Xtra Tubes – That’s just an extra tube…I’m trying to be cool with the kids (last time I was cool with the kids, staircases was a rad type of haircut). First off, with the tubes and wheels that on your bike currently, there are a few things you should know. These are basic, kiddlings. If they weren’t, I wouldn’t know about ’em either. Puncture Proof. Know if your tires are puncture proof. If they aren’t, I would highly suggest you pick up a pair of puncture proof tires. Just go into any bike shop and say that you are going to do a bike tour and they will say the same. Unless you have a fetish for patching tires, sitting on the side of the road, ear to your tube, trying to hear air escaping above the sound of whizzing cars, then please, please, please get puncture proof tires.
Okay. Now that I got that out of my system. I can get to your tubes. Make sure your bike tube valves match your bike pump. Some bike pumps can pump numerous types of valves, but some do not. I recommend getting the multiple system pumps, just in case you find yourself on the road with the other option as your only replacement. Here are your options:
Learn these well, the names are quite universal. Also, dependent on what country you are traveling to, one valve type may be more common than another. Just do a quick search on the inter-ma-nets and stick with the most popular valve type.
3. Paniers – Do not try to do a bike tour with a backpack, please, or by the end of it you will be as bent over as that perverted old man in Family Guy (talking about his physique, not his perversion). I did the backpack thing and could barely lift my head while riding to see straight. I looked like a reject costume for the Rocketeer movie and was in constant pain.Each person has their preference for paniers and their setup. I am a big fan of zippers (even though they break) and only doing back paniers, because for me, less room to store stuff means less crap I decide is necessary to haul along with me and weigh me down. Lots of compartments means more places to separate things into some form of organization, but it also means that banana you forgot about two months ago may be the culprit for why your panier smells like a dead or dying skunk. Whatever setup you try, test it out before the big send off day. While wear and tear is a way of life, starting off on the wrong foot can be avoided. Make sure the securing system to your rack, actually secures the paniers. All you need is one of them to fling off, mid pedal, into traffic behind you (or into that unsuspecting/possibly suspecting German cow).
More to come with Part Trois!


